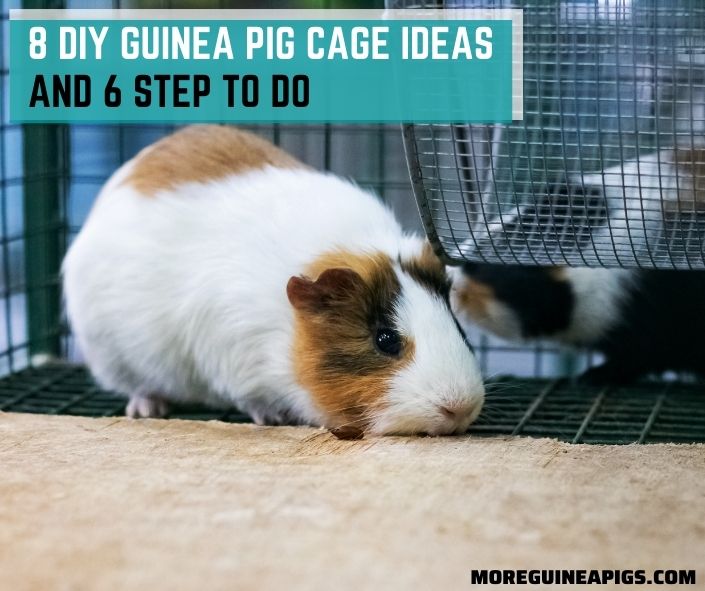
8 DIY Guinea Pig Cage Ideas and 6 Step to Do
Did you know you can make a DIY guinea pig cage in just six steps and in just 10 minutes? Well, that depends on the design.
But for the popular C&C guinea pig cage, you can take even a shorter time if you have the experience. Other DIY guinea pig cage ideas may take you days to actualize.
Making your own guinea pig cage comes with many advantages. And in this article, we will look at the steps needed to accomplish a simple DIY guinea pig cage.
We also highlight 8 additional ideas that you can consider, though they may need skills. Continue reading for details.
3 Factors To Consider When DIY a Guinea Pig Cage
If you are a pet lover, comfort should be your priority. But how do you ensure that your guinea pigs are happy and comfortable?
A good home or guinea pig cage is the best place to start from. There are these commercial guinea cages, but we advise you to make your own.
With a DIY guinea pig, you save money, get more space, customize the design, and use material of choice. A comfy guinea pig cage should be spacious, safe, non-toxic, and easy to clean. You can achieve all that through the DIY approach.
Consider the following factors when making a DIY guinea pig cage for your cavies:
Number of Guinea Pigs
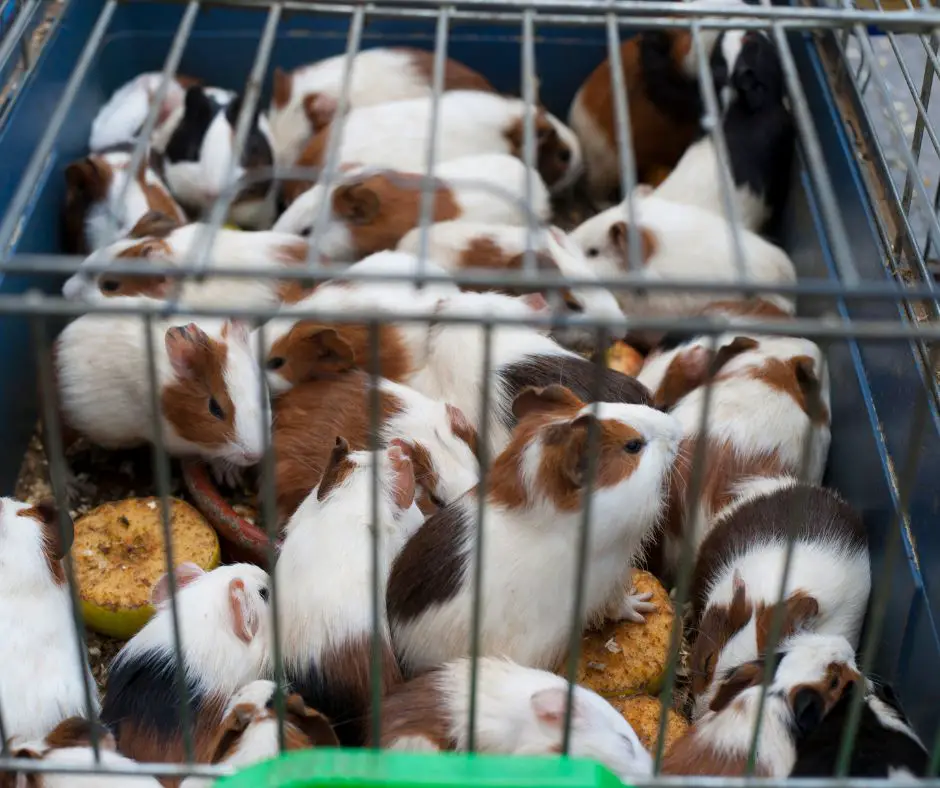
The number of guinea pigs you planned to keep determines the size of the cage to construct. The higher the number, the bigger the guinea pig cage will be.
For example, you need about 7.5 square feet of the floor area for a single cavy and about 10.5 square feet for a pair. As a rule of thumb, the bigger, the better.
Alternatively, you can decide to construct a cage for every guinea pig you want to keep. But remember, you will need more materials for individual units than one large unit for all piggies.
Also, you may need the former option because guinea pigs like the company of each other.
Cage Design and Material
The first step in any construction work is to sketch the design. You estimate the material you will need for the project from it. Assemble all the materials, tools, and equipment you will use in the construction.
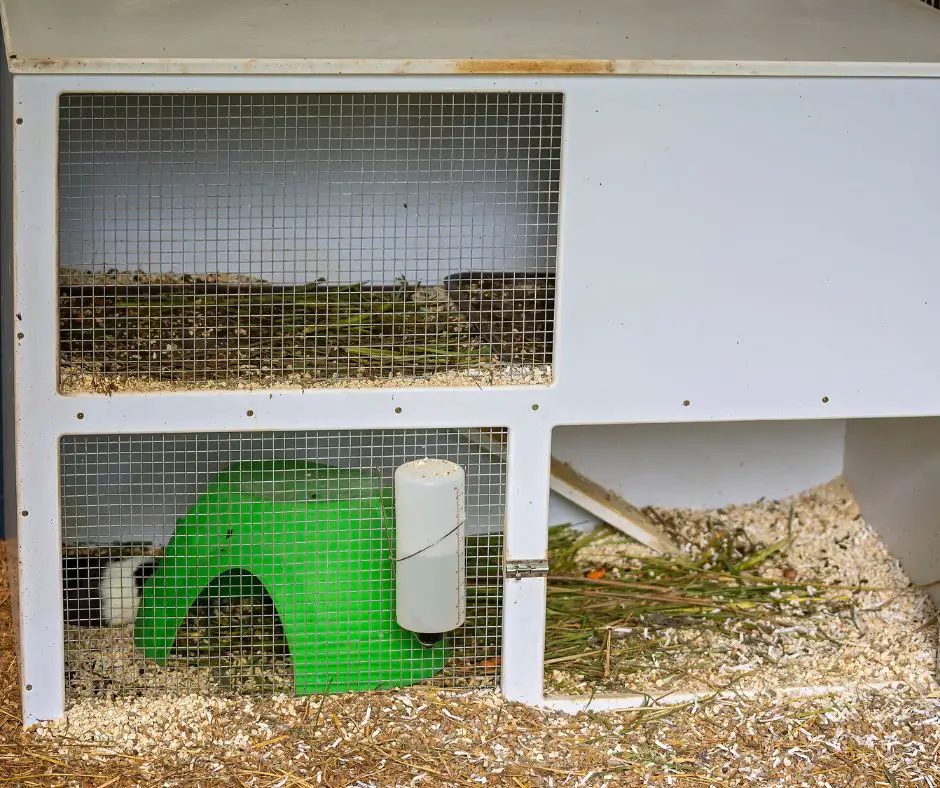
Guinea pig cages are mostly made from storage cube grids and coroplast. They are so popular that they have become the standard in guinea pig housing.
But why? They give guinea pigs enough room to play and are easy to clean. You can also line the floor with fleece to give your piggies even more comfort.
Your Skill
DIY guinea pig cage construction may require masonry skills and creativity. These will determine the outcome and when you will finish the project.
Choose time as appropriate, so you don’t have to hurry in doing the work. Scheduling it on a weekend when at home may be a good idea.
6 Step to Build a Guinea Pig C&C Cages
C&C cages were invented in the United States in the 1980s for small pets, mainly guinea pigs and rabbits. They have since conquered the world, with their popularity still increasing exponentially.
C&C refers to cubes and coroplast. The cubes are grid-like panels constructed from powder-coated steel. The grids easily lock into each other to form the skeleton of the cage.
Coroplast is a corrugated plastic for the base of the guinea pig cage.
People prefer C&C guinea pig cages because they are spacious, flexible, easy to clean, quick to assemble, and offer many design options.
They are also foldable, meaning they are portable. Your guinea pig’s pups can also feel comfortable in the C&C cages.
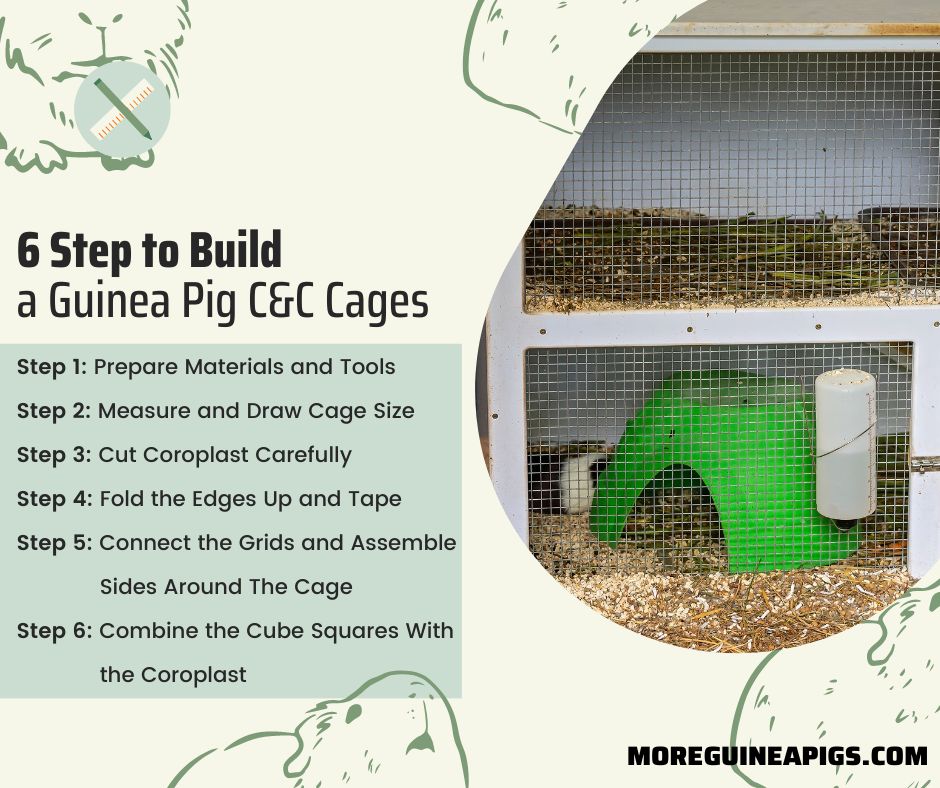
Step 1: Prepare Materials and Tools
Before listing all you will need to make a C&C guinea pig cage, let us remind you to always plan on material size larger than design. That way, you don’t have to go back to the market because you can’t complete the construction.
Collect the following materials to make the cage:
- One sheet of coroplast
- At least a box of grid cube squares
- 1 pack of medium-large zip ties
- Box cutter
- Duct tape
- Scissors
- Measuring tape or a long ruler
- Pencil
Remember, the quantity of materials depends on your design. The size of the cage will help you to approximate what you need. So, don’t buy them until the second step is complete.
Step 2: Measure and Draw Cage Size
Determine the cage size you want to make. That depends on the number of guinea pigs you need to keep. Consider the following tabulated information for reference:
| Number of guinea pigs | Recommended minimum floor space |
| 2 females | 2×4 C&C (about 10 ft2) |
| 3 females | 2×5 C&C (about 12ft2) |
| 2 males | 2×5 C&C (about 12ft2) |
| 1 neutered male and 2 females | 2×5 C&C (about 12ft2) |
| 4 females | 2×6 C&C (about 14 ft2) |
The smallest C&C cage size that many people like is the 2×3 cage. This refers to 2 cubes width and 3 cubes length. A cube is slightly larger than one foot. Don’t confuse the convention.
Next, determine the height of your guinea pig cage base. About 6 inches should be. After that, calculate the floor area and note down the dimensions. You will use them in the next step to cut the coroplast.
Step 3: Cut Coroplast Carefully
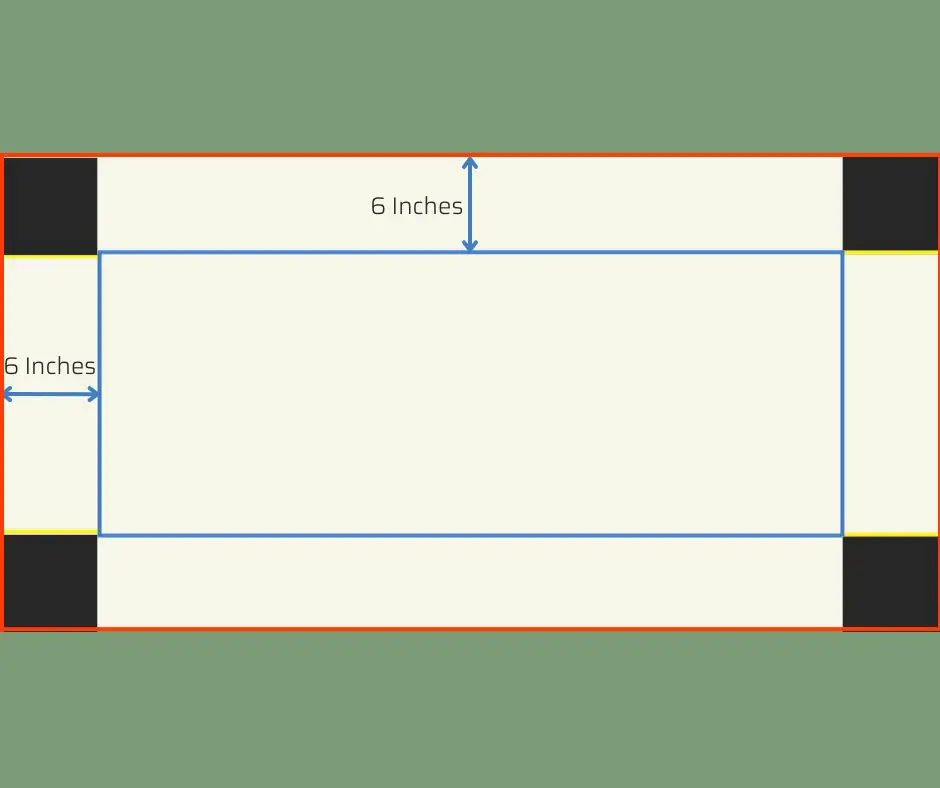
Mark the points on the coroplast according to the measurements you had in the previous step. Draw the first inner rectangle to form the floor. Next, draw another larger rectangle with a 6-inch margin all around the first one. The margins will be the height for the base.
Cut out the outlined larger rectangle from the coroplast sheet as indicated by the red shape in the figure above. Next, cut through along the yellow lines. That will allow you to easily fold it into a rectangular base and tape the overlapping sides.
The most important property of the coroplast sheet for this project is the double layer and an air pocket between it.
If you cut only the upper layer following the blue [outline, you should fold it easily at right angles. Also, you will have sealed corners.
Step 4: Fold the Edges Up and Tape
After cutting the upper layer of the coroplast along the inner rectangle outlined by blue lines in the above figure, you can start folding at 90 degrees.
Once you are at the corner, overlap the black-shaded region against the adjacent shorter side and tape accordingly. Do the same for all four corners.
The overlapping design creates an airtight, strong corner. It is also crucial when you will be using bedding instead of fleece.
Step 5: Connect the Grids and Assemble Sides Around The Cage
You are done with the base from the previous step. Now, you need a cube barrier around it to complete your C&C guinea pig cage.
Using the zip ties, connect your grids according to the design. They can be 2 cubes on the width and 4 cubes on the longer side or any other combination you have chosen.
Assemble all four sides separately and wait to join them to form a cuboid shape in the next step.
Step 6: Combine the Cube Squares With the Coroplast
The last step is to bring the two sections, cube grid and coroplast base, together. Combine the edges at one corner of the coroplast base using zip ties.
Don’t make it too tight until you complete joining all four sections. Tighten the zip ties, and voila! Your DIY C&C guinea pig cage is ready.
Add bedding or lining of your choice to make the cage as comfortable as possible.
Also read: 4 Best Guinea Pig Bedding
Coroplast Sign Blank Board

8 Ideas to DIY a Guinea Pig Cage
Besides the C&C guinea pig cage, there are more than 10 other ideas you may explore. These, however, require advanced skills that many pet lovers may not possess. Just check them out below and see if you can make any of them.
Guinea Pig Cage With the Kids From Instructables Living
This guinea pig cage is relatively bigger to house three piggies. It is raised a few feet from the ground, and wood and wire screens are used instead of cube grid and coroplast, but the result is outstanding.
The cavies have enough room to roam about and will be happy in the company of each other.
This is a great idea but only for experienced woodworkers. Moreover, you will need advanced equipment that many homesteaders may not have. If you are going to try this guinea pig cage idea, first, question your skills.
Guinea Pig Hutch idea
If you want an outdoor guinea pig hutch, think of this idea. Guinea pigs like the fresh air and green grass, especially during the summer months. The design is simple, but it also requires some woodworking skills.
It is divided into two sections. One part is covered to provide shade, while the other is left open with only a wire screen for safety. Also, it has no base to allow guinea pigs to directly access the grass and other vegetation on the ground. Not that
Note that this is just an outdoor cage that you use when you are also around to have an eye on the guinea. You still need an indoor cage.
Guinea Pig Grand Hotel
Imagine an entire villa for your guinea pigs! This grand hotel guinea pigs house is more of a permanent structure.
So, you will need to choose a location more appropriately. The idea is to keep your piggies comfortable while accessing a natural feeding ground.
This is an advanced-level guinea pig cage idea. It takes more resources and time to make. You also need to be good at woodworking with all the tools and equipment to pull it out.
Guinea Pig Shed Idea
This idea is feasible if you have an old house that you can turn into a shed. And since the original design was not meant for the cavies, you will need to make several modifications to enhance ventilation and lighting.
Also, you need to design the shed and determine how the piggies will be interacting with each other. The owner made two guinea pig cages and placed them side by side in the shed.
We must admit that it involves many hours of work that can drain even skilled woodworkers.
DIY Outdoor Guinea Pig House
Have you ever thought of housing your piggies outside? If yes, you need a more reliable outdoor cage like this one.
The house has a temperature control system and safety features. When you cage your pets outdoors, you don’t intend to share your living space with them. Hence, the need to keep them comfortable.
This guinea pig outdoor cage is a big project that not everyone can handle. It needs a lot of resources and advanced woodworking skills to make.
Also, you need to install the safety features and climate control system so that your cavies don’t freeze in winter.
Also read: Can Guinea Pigs Live Outside?
Guinea Pig Hutch/Extension
Guinea pigs are playful animals. And to keep them active and happy, they need a large playing area to roam about. This is the perfect idea for one or multiple guinea pigs.
This guinea pig hutch consists of the enclosed section where guinea pigs can hide or sleep, open but shaded area, and open but unshaded area.
Security is still a key concern in this design. So, the designer nailed wire screens all around the open space to keep the guinea pigs safe from predators.
You can be creative enough to have different designs as you wish. But still, you need skills to actualize it.
Guinea Pig Cage Ikea
We have many IKEA-inspired products around us these days, and if you like them, you can make one for your guinea pigs.
Just collect the materials and follow the steps shown in the YouTube tutorial to build a new home for them with ease. However, you still need skills and specialized tools to pull it out.
Guinea pig Cage Wood
This is the most aesthetically appealing, with the entire cage made of wood and glass walls for lighting. There are decks and hideouts, all constructed with wood and lined with comfy material.
This is the ultimate home that every cavy dreams about.
You can try it out if you have the skills, tools, and equipment to make this guinea pig palace.
Also read: Guinea Pig Setup: Step By Step Guide
Final Sentences
It is easy to make DIY guinea pig cages, but they are not the only thing you can make for your cavies. You can DIY other guinea pig cage accessories such as toys. You can also think of DIY guinea pig décor and many others.
Thank you for reading this article at Petsive. We hope you can now make your preferred DIY guinea pig cage. Also, we invite you to share this information with other pet lovers.
Check out: